The BEST (and easiest) Homemade Honey Wheat Bread
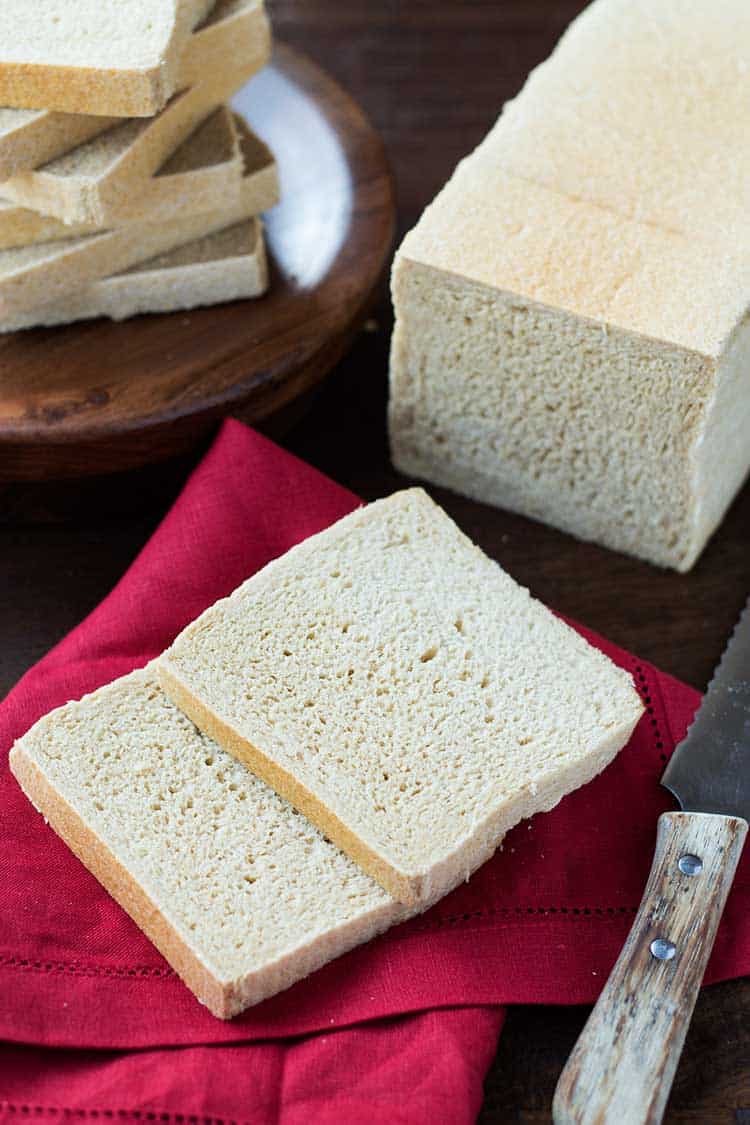
This is my go-to, most favorite homemade wheat bread recipe on the planet – hand’s down! My entire family loves this stuff! It is light and fluffy and tasted great, and it is a very forgiving dough, easy enough for even bread making novices. If it works for me, a certified yeast killer, then it will work for just about anyone!
Easy Homemade Honey Wheat Bread
Truly, it is no small thing when I say that this Homemade Honey Wheat Bread is amazing. It is A-MAZE-ING!! Not only because it tastes great, but also because it is very forgiving and can be made easily by novices and yeast-killers alike. 😉 If I can make it, so can you! And get this, there is no long rise – 30 minutes or less is ALL YOU NEED! See? AMAZING! You can have this bread ready, start to finish, in about 90 minutes.
Oh, and it also freezes great!!
Want to save this recipe?
My family goes through this bread so fast that I can barely keep any around. I got tired of making bread two or three times a week just to keep up. So when I make bread (and this is the only bread I make because why mess with something that is already perfect, you know?), I make a double batch, and we freeze one or two of the loaves for a few days until needed. You can freeze it for longer, but we go through it so fast around here that it only ever stays in the freezer for a few days before we’re ready to pull more out.
Now, we do food storage at my house. I keep a few buckets of wheat and other things around in case of emergencies. But I don’t like to have food just sit and go to waste, so we try to rotate through our food storage and incorporate it into our regular meals. This is a fabulous way for me to do that! So because of that, I grind my own wheat flour. I have an electric wheat grinder that I love! (I have a WonderMill, but the Nutrimill is also very highly recommended.) It’s fast and easy, and there is minimal cleanup. The thing sounds like a jet engine taking off on an airport runway, but it’s only for a few minutes. 😉
I stick with hard white wheat, as it has a slightly more mild taste/flavor over the red. If you go this route, you want hard winter wheat, not soft or summer wheat, as it doesn’t have enough gluten protein for good bread development.
But you do not have to grind your own wheat for this bread – you can absolutely use store-bought wheat flour!
Here are a few other things you’re going to want to know:
- It is a very soft dough. And it will be sticky. If you bake a lot of bread, you’re going to think that this is lacking a lot of flour – but it isn’t. I promise.
- You MUST use vital wheat gluten. Don’t even try to skip that. Your loaves will fail every single time. Wheat flour is very dense and heavy and needs extra gluten protein (the vital wheat gluten) to help it keep shape and hold air bubbles. Don’t attempt to bake wheat bread without it. 😉 You could make your own, but it is a long and involved process, and quite frankly, not worth it just for a few loaves of bread. So just go with the commercially-prepared stuff. Look for it in the baking aisle near the flours. But if you can’t find it at your local store, you can follow the link above to order it online. Sometimes it will be with the special diet foods – you’re most likely to find the Bob’s Red Mill variety. That’s the one I tend to see most often in the grocery store. I buy mine from a local food storage company, and you can get larger cans of gluten there if you’d prefer.
- You can hand knead this stuff, but I highly, highly recommend using a mixer if you’ve got one. You can do a single batch in a standard KitchenAid, but to do a double batch you will probably need either a 6-quart heavy duty KitchenAid, or a Bosch (or an industrial mixer). If you’re working with a KitchenAid, check your manual for the flour capacity of your particular model. A double batch uses 11 cups of wheat flour. When I made just a single batch, and not a regular basis, my KitchenAid worked just fine. In fact, that’s what I used for the first year or two. When we started doing school lunches (yes, I’m an evil mom and make my kids take lunches instead of buying) and I was making bread regularly, the KitchenAid just wasn’t quite up to handling a double batch. I am very, very, very lucky to actually own both a KitchenAid and a Bosch! I love my KitchenAid for smaller stuff (cakes, cookies, whipping cream, frostings, etc.), but when it comes to bread, my Bosch just cannot be beat! It is a BEAST! That thing has handled nearly 22 cups of flour for a triple recipe of rolls at Thanksgiving without batting an eye so to speak! I highly recommend either machine.
- THE KEY to this whole recipe is the yeast. YOU MUST USE INSTANT YEAST. See, if someone had taught me about yeast twenty years ago, I could have saved myself a lot of pain and heartache. For me that was probably the most critical thing that was keeping me from being able to make bread correctly. There are different kinds of yeast. The one you are probably most familiar with is the active dry stuff, right? The stuff that comes in the little strips of packets or the brown jar. Yup. It’s alright as far as yeast goes, but you have to treat it a certain way in order for it to work. Instant yeast doesn’t have that stipulation – it is ready to go right into your dry ingredients and does not require proofing beforehand. I love the stuff!! I actually don’t keep any other kind of yeast around. SAF and Fleishman’s both make instant yeast. I use the SAF brand whenever possible, but have used Fleishman’s with success too. Instant yeast comes in a vacuum-sealed 1 pound cube. Most grocery stores are starting to carry it now, even some Walmarts. But you can also find it online if needed. If you’ve never used instant yeast before, you are in for a treat! You won’t ever want to go back to the “regular” stuff again! 🙂 (Okay, I’m sure there is a way to get it to work with the regular ActiveDry stuff, but it would require some changes to the recipe, and that is a scientific area where I do not have the skills necessary to make those adjustments. So, just go with me on this one – for THIS recipe, use INSTANT yeast.)
- Also, when using your yeast – if you’re still struggling to get it to rise, check these two things: 1) use filtered water (tap water contains chlorine which can kill yeast), and 2) make SURE your “hot” water is betwee 110F and 120F degress. Lower isn’t quite warm enough to activate the yeast, and any higher than 120F can kill your yeast.
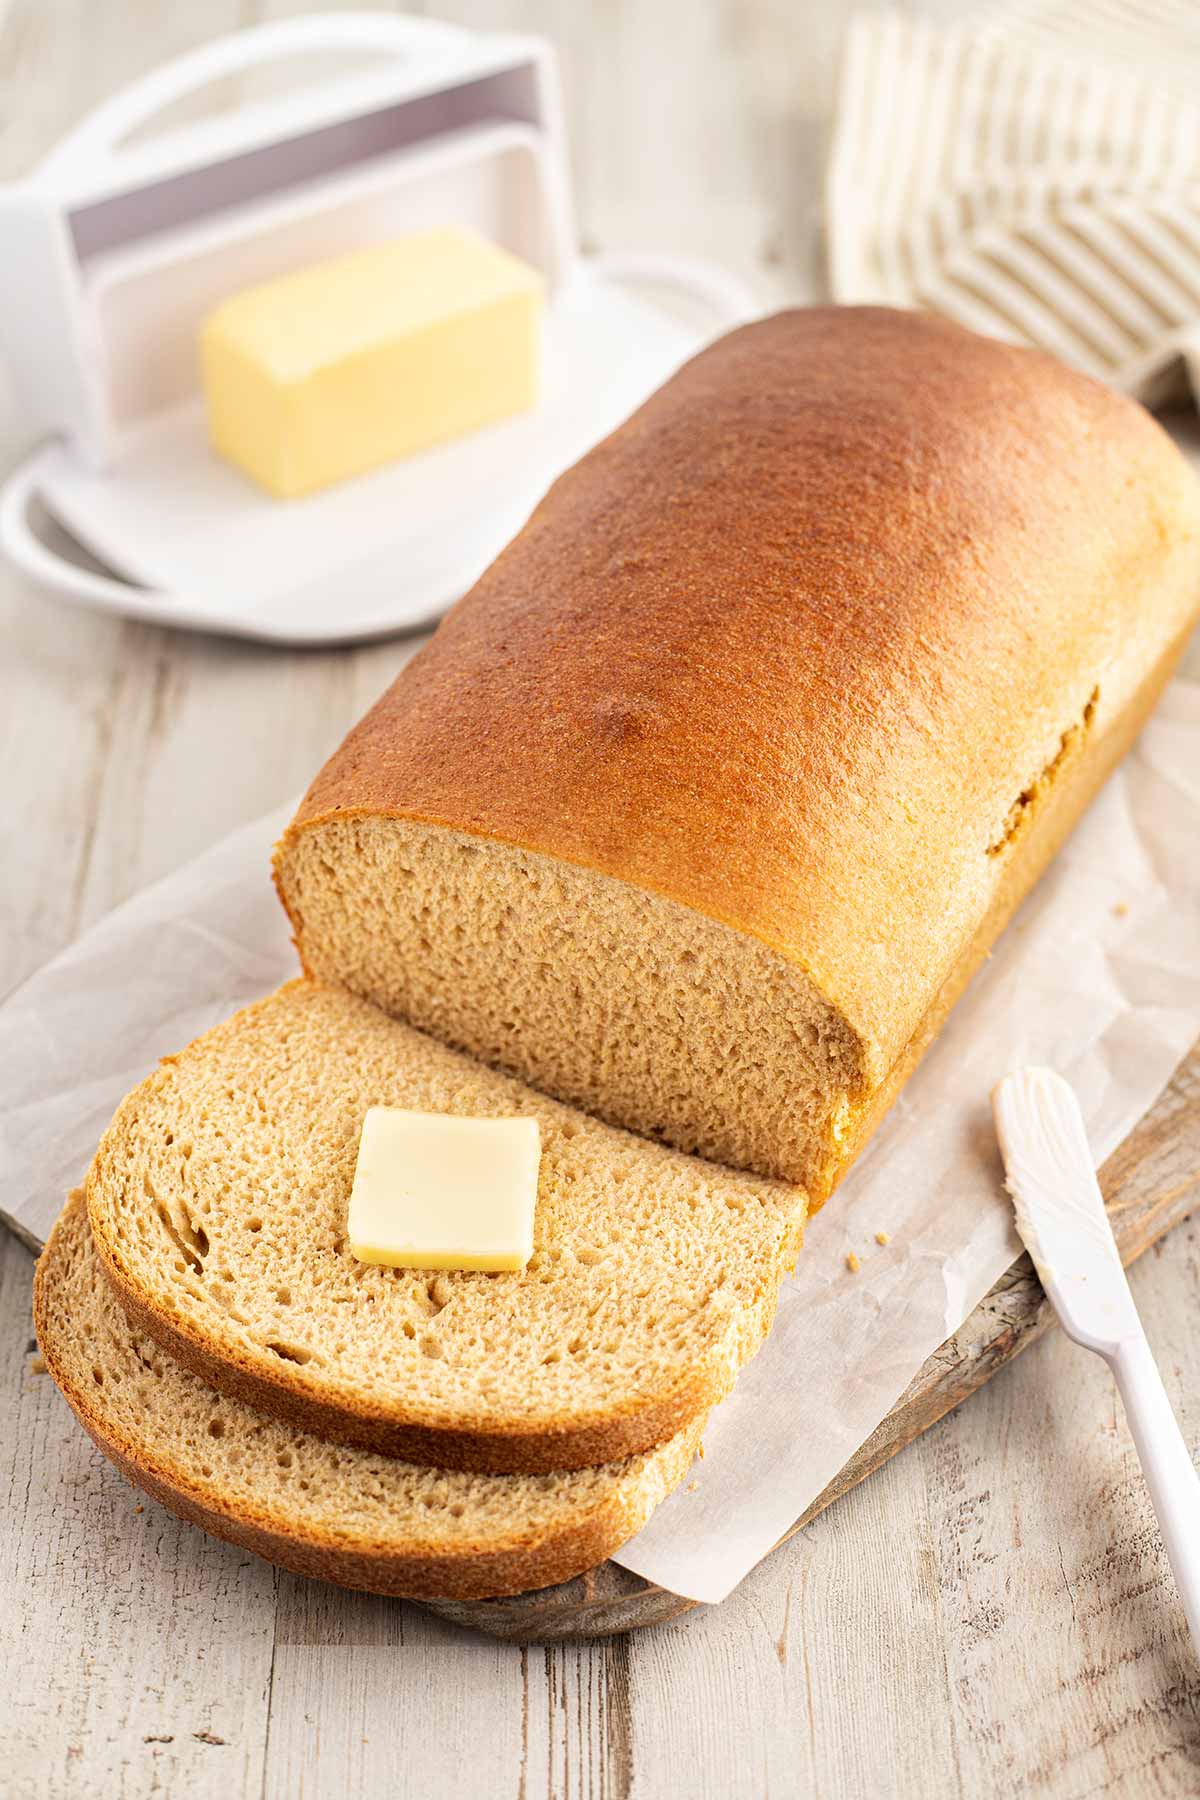
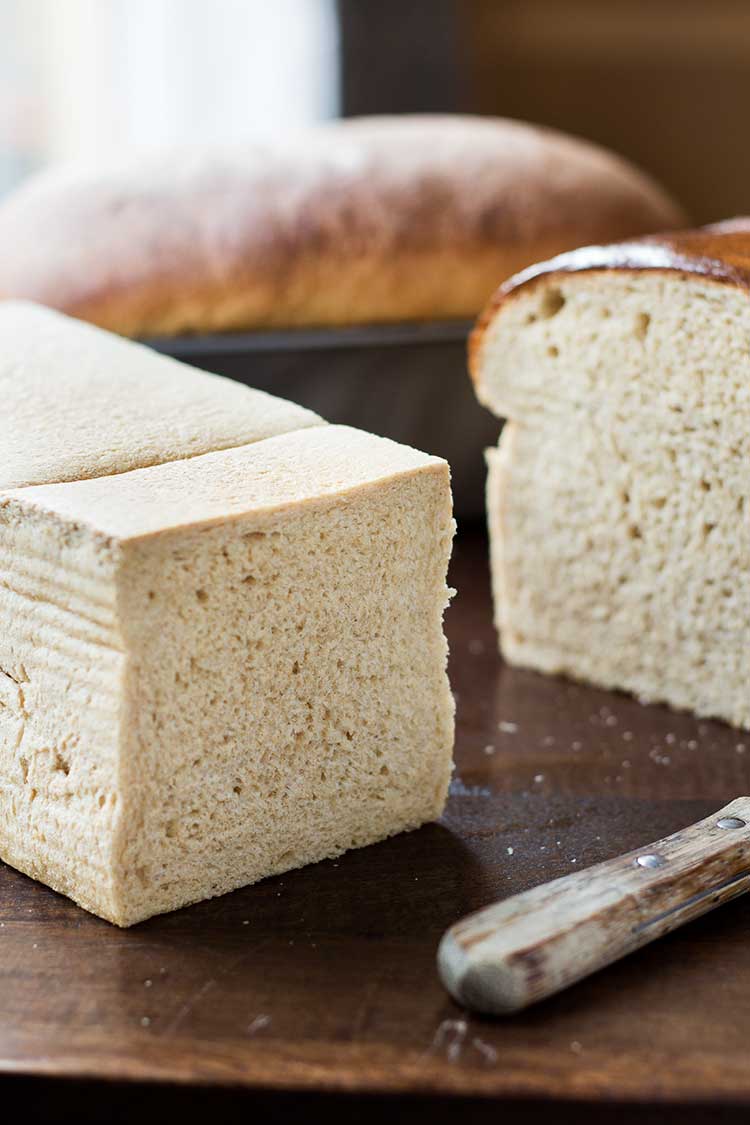
When I make this bread, I use a variety of loaf pans. A double batch makes enough for one long pullman loaf pan, an aluminum long loaf pan, and one standard bread pan. I have this pullman loaf pan from USA Pans, and LOVE it! My kids love it because it makes square bread (when you use the lid), which is super easy for school lunch sandwiches, and there is no hard crust. (You don’t have to use the lid if you want a rounded top with a harder crust.) I also use a Wilton aluminum 16x4x4 long loaf pan to give me a standard grocery-store size loaf. And then that leaves me with just enough left for a regular bread pan.
Just a bit more – I promise we’re almost done!
Now, let’s talk getting your dough to rise. This is where I failed for so many, many years. The first fix? Using instant yeast. Made a world of difference! Like I said, I don’t use any other kind anymore, because instant yeast rarely fails me (and when it does, it’s only because I’ve had it out too long and it is too old – my fault, not the yeast’s fault). The second fix? Finding a combo to help that yeast grow and give rise to the dough. So, here’s what I do: I have sliding glass patio doors across from my kitchen table, and they face south, so they get TONS of natural light during the day. It’s a great place to get dough to rise! I pull a chair up to the doors, as close as I can get, in direct sunlight. I then fill a very large melamine mixing bowl almost completely full with the hottest tap water I can get. The bowl of hot water goes on top of the chair seat. I cover my bread using plastic/cling wrap that has been sprayed with non-stick spray on the underside to prevent it from sticking to the dough, and I just let the plastic wrap lay loosely over the dough and pan. Then the bread pans go on top of a baking sheet, which then goes on top of the big bowl of hot water.
If it is a cloudy day (or later at night with no sun coming through my doors), I move the bowl of hot water and the tray and the bread pans to my oven. I don’t preheat, just move the rack to the lowest position, but the bowl in and then put the baking sheet with the bread pans on top and shut the oven door. You can turn the oven light on if you want to add a little extra heat insurance.
I use this method for anything I make that involves yeast dough – rolls, bread, etc. So far it has never failed me yet. And if we ever move from this house, my bread making days may be over, because I won’t know what to do without my huge sliding doors for getting dough to rise! 🙂
So, there you have it! I know that was a huge brain-dump of details, but I wanted to give you all the tips and tricks I could think of that I use, so that you can find as much success with this bread as I have.
I seriously love this stuff – it is, for me, a pretty-hard-to-mess-up recipe. It has been an absolute game-changer for me in the kitchen. And the best part? My kids love the taste! I hope you will love it, too!
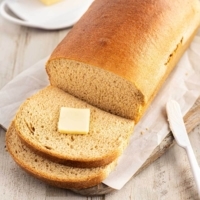
Easy Honey Wheat Bread
INGREDIENTS
- 3 1/2 cups wheat flour
- 1/3 cup vital wheat gluten
- 1 1/4 tablespoons instant yeast NOT active dry or bread-machine
- 2 1/2 cups hot water 110F-120F
- 1 tablespoon salt
- 1/3 cup vegetable or canola oil
- 1/3 cup honey
- 1 1/4 tablespoons lemon juice
- 2 1/2 cups wheat flour
INSTRUCTIONS
- Add first three ingredients to bowl or mixer. Stir to combine.
- Heat water, but do not exceed 120F (above that will kill your yeast). Add to dry ingredients and mix until moistened. Cover and let rest for 10 minutes.
- Add salt, oil, honey and lemon juice and stir to combine. (This will deflate your dough a little, but don't worry.)
- Gradually add in remaining wheat flour. Dough will be fairly soft and rather sticky. (Dough should not be stiff.)
- If kneading by hand: Spread a thin layer of oil over a section of your work surface - do not flour. Turn dough out and knead for 6-10 minutes.
- If using a mixer, knead in your mixer for 6-10 minutes. Then turn out onto oiled work surface.
- Place a small amount of oil in each pan and spread it around and in corners and up sides. Do not flour your pans.
- Divide dough. Shape and place into oiled bread pans.
- Cover and let rise in warm spot for 20-30 minutes.
- Place bread pans into COLD oven. Turn oven to 350F and allow it to preheat WITH THE BREAD INSIDE THE OVEN. Count the preheat as part of the baking time. Bake for 30-35 minutes until crust is golden brown.
- When done, remove from oven. Allow bread to cool for 10 minutes in pans, and then turn out of pans onto a cooling rack to finish cooling (this will keep your bread from getting soggy on the sides and bottom).
To store:
- Place bread whole or sliced into ziptop bags or other suitable containers. You may not want them to be completely airtight, as moisture may build up inside and turn your bread soggy.
To freeze:
- Wrap cooled bread in a layer of plastic wrap, then a layer of aluminum foil and place in freezer.






I am soooo happy to read that you finally tackled that weird yeast problem you had. I have never had problems with yeast so for me it is hard to grasp.
Jenny, those look delicious!! 🙂 Yeast and I are still not the best of friends, but at least we’re on speaking terms most of the time now. 😉
When you say “wheat flour” what exactly do you mean?
Whole wheat or all purpose?
I’d like to make your recipe, but would like to make sure I have the right ingredients.
Thanks
Whole wheat flour.